Skin Fade: 3 Things To Definitely Do
Are your male clients requesting clean clipper cuts but your blending techniques need a bit of a refresh? Victory Barber and Brand™ Founder Matty Conrad (@mattyconrad) shared his technique for creating a seamless skin fade and were teasing three things you NEED to know.

Prep With A Moisturizing Cleanse
To prep his clients for any cut, Matty grabs WASH from Victory Barber & Brand™ to cleanse and condition the hair. WASH is made from activated charcoal and botanicals so it won't leave the client feeling dry —perfect for keeping skin fades moisturized.

1. Establish Guidelines
First, Matty creates two lines that he uses as guides for the cut’s fade and shape. Check them out below:
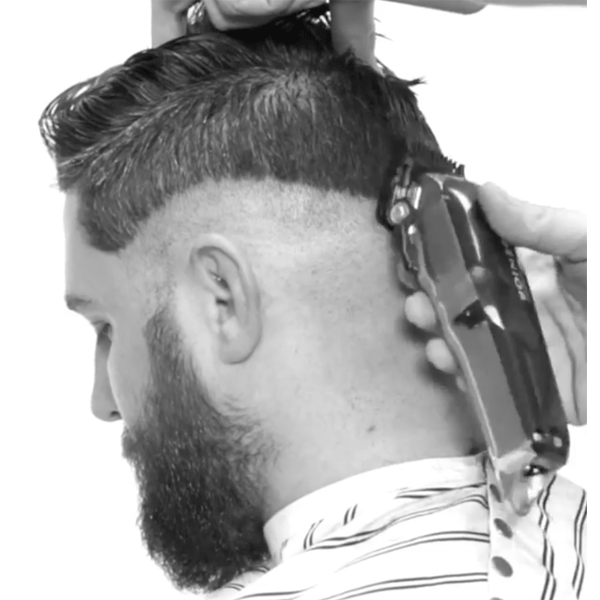
- The Skin Line: Use this line as a guide for where the fade will begin. Everything below the skin line will be cut right down to the skin with a trimmer and foil shaver and everything above the line will be blended upwards.
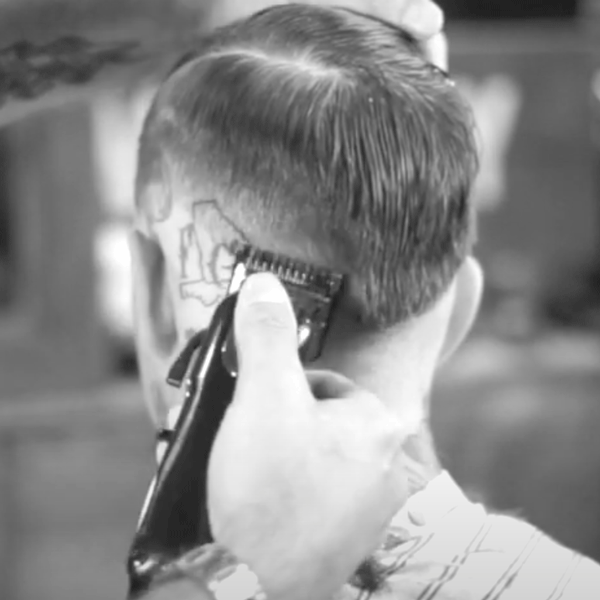
 Pro Tip: Curve the line down just behind the ear so that it sits below the occipital bone. “The occipital bone can be pointy, which makes blending a little tough. So I like to set my line right at the bone,” Matty explains.
- The Weight Line: This line establishes the length that is left at the top of the back and sides. It also establishes the overall shape of the haircut. The shape can be manipulated using elevation, depending on the desired look. Matty broke it down like this:
-
- Straight out elevation = Natural shape
- Downward elevation = Wider shape
- Upward elevation = Leaner shape
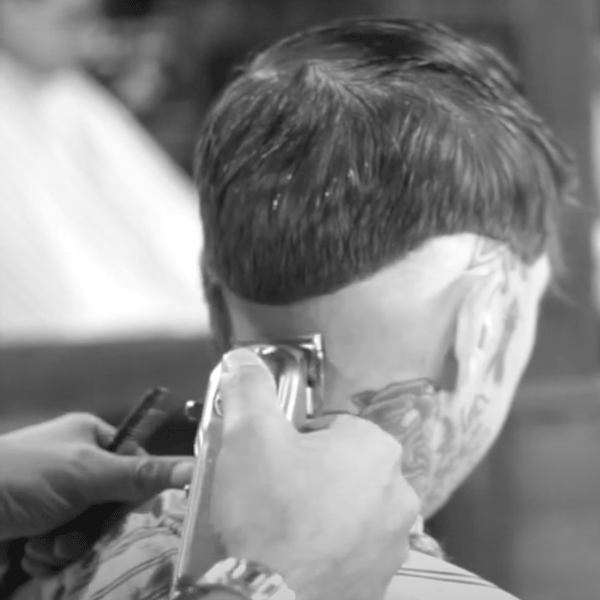
Use a clipper over comb technique to create the weight line around the entire head, mimicking the shape of the skin line. 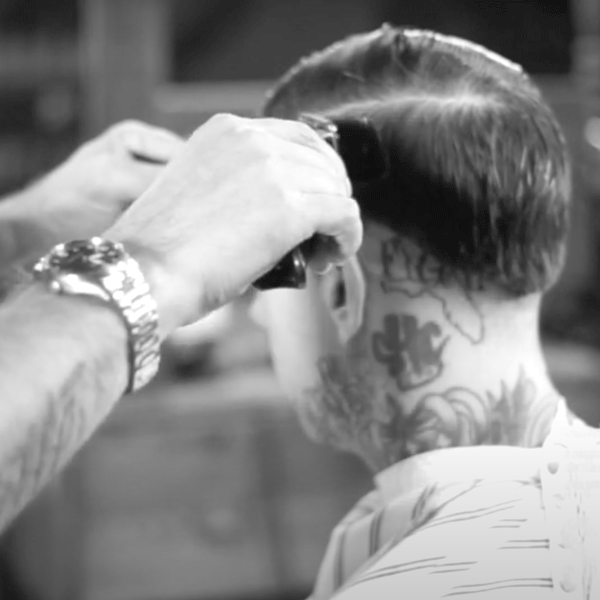 Pro Tip: Avoid extra blending later by moving the clippers over the comb like a train on a track when cutting. This will create a clean, even cut, as opposed to a chipping motion.
2. Create A Transition Area
To create a more blended, polished fade, Matty will use the clipper comb to clean up the area between the two lines, creating a transition area for his blending technique. Check out the steps below:
- Bring the bottom of the comb tight to the skin line while angling the teeth slightly upward to protect the weight line.
- Use an easy upward rocking motion to create the transition area.
- The transition area closes the gap between the two lines, so make sure the width of the zone gradually increases when working towards the back of the head.
3. Gradually Close The Guard For A Seamless Fade
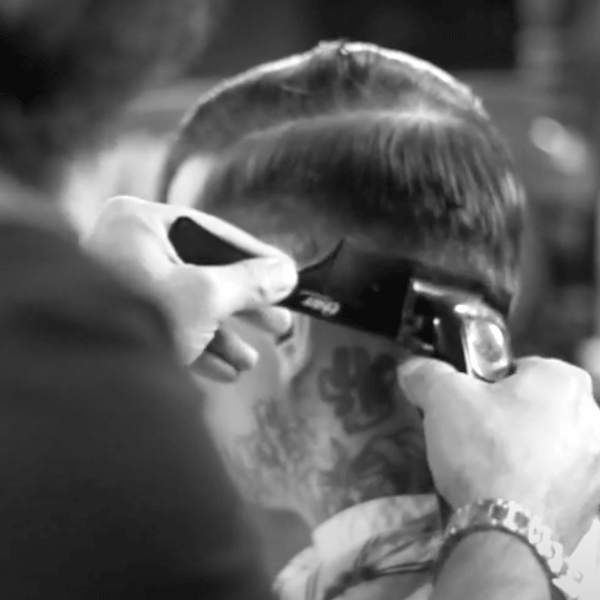
Working from the top down, Matty starts blending with a one and a half guard setting the clipper all the way open—creating a two and using a rocking motion to blend. Then, he closes the lever on the clipper, reducing the length by one half and working slightly lower. When switching to the smaller guards he first opens the lever for a pass then closes the lever for a pass, working lower and lower until he ends with half a guard closed over the skin line to blend it out.
Choose A Styling Product That Won't Weigh The Hair Down
Avoid greasy separation by choosing a stying product with a matte finish. Matty styles with the Super-Dry Texture Paste from Victory Barber & Brand™ because it doesn't contain oils, allowing him to create texture and hold without any additional shine.

Matty shared the finished look on his Instagram!
View this post on Instagram
